A Simple Guide to Setup ADB
A Simple Guide to Setup Android Debug Bridge (ADB)
Android Debug Bridge (adb) is a command-line tool that lets you communicate with an android device. The adb command facilitates a variety of device actions, such as installing and debugging apps, and it provides access to a Unix shell that you can use to run a variety of commands on a device.
Phone Setup
Launch the Settings application on your phone.
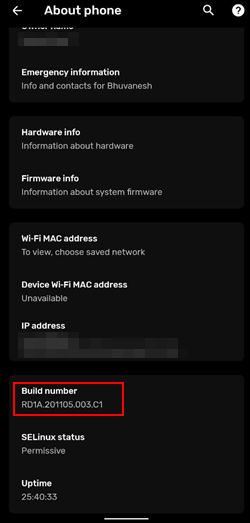
Tap the About Phone option generally near the bottom of the list.
Then tap the Build Number option 7 times to enable Developer Mode. You will see a toast message when it is done.
Now go to Settings -> System -> Developer Options (this is hidden behind the “Advanced” option).
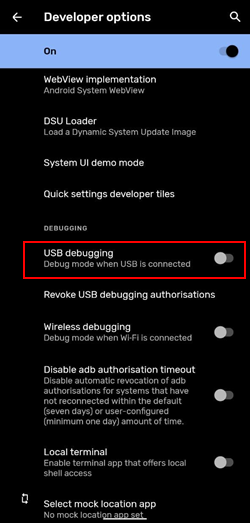
Go in there and enable the USB Debugging mode option.

You are partially done with the phone setup process. Next up, you will need to scroll below and follow the rest of the instructions for your particular operating system.
Windows Setup
- Download the ADB ZIP file for Windows from HERE.
- Extract the contents of this ZIP file into an easily accessible folder (such as C:\adb).
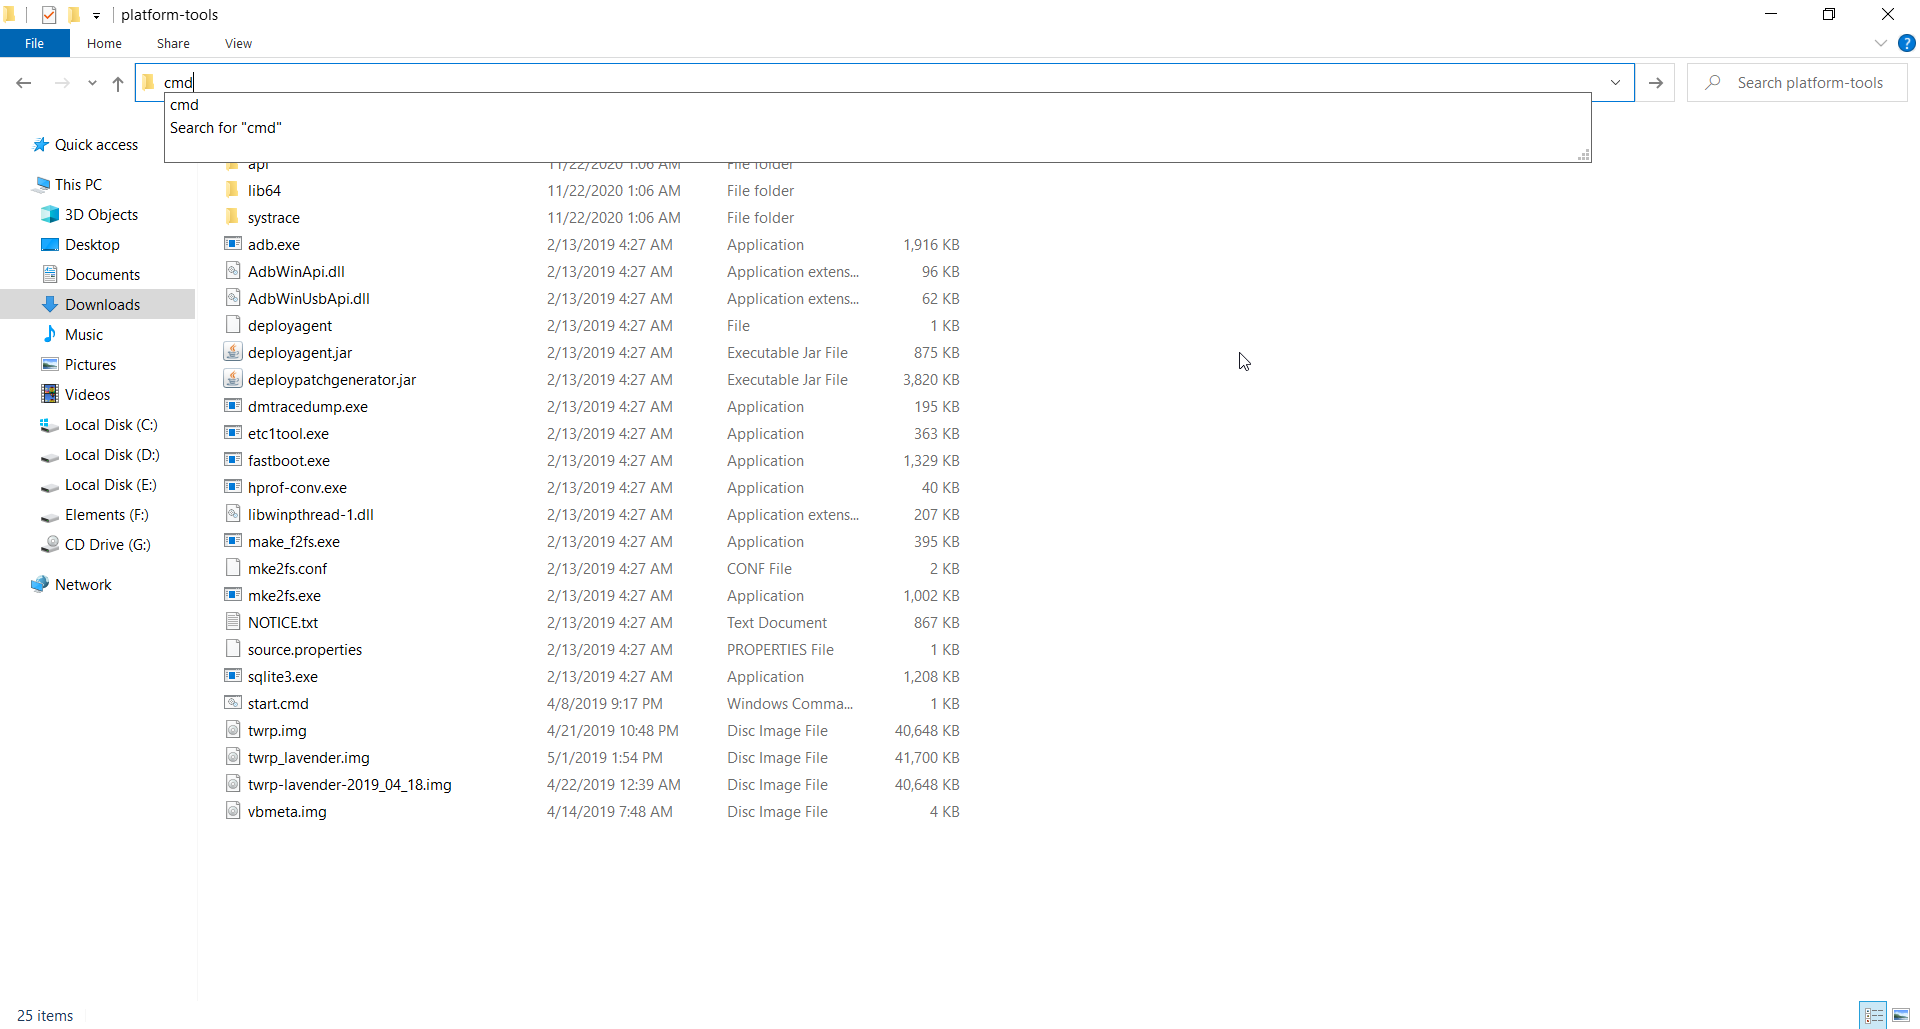
- Open Windows explorer and browse to where you extracted the contents of this ZIP file.
- Then open up a Command Prompt from the same directory as this ADB binary. This can be done by typing ‘cmd’ in the address bar and then hitting enter.
Connect your smartphone or tablet to your computer with a USB cable. Change the USB mode to “file transfer (MTP)” mode. Some OEMs may or may not require this, but it’s best to just leave it in this mode for general compatibility.
In the Command Prompt window, enter the following command to launch the ADB daemon:
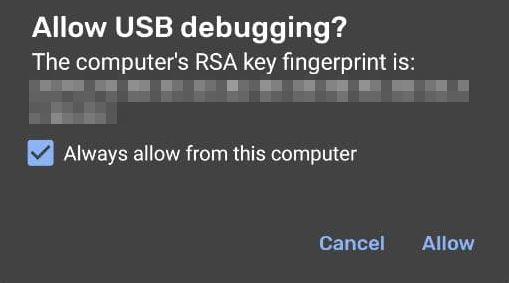
adb devicesOn your phone’s screen, you should see a prompt to allow or deny USB Debugging access. Naturally, you will want to grant USB Debugging access when prompted (and tap the always allow check box if you never want to see that prompt again).
Finally, re-enter the command
adb devices. If everything was successful, you should now see your device’s serial number in the command prompt. Yay! You can now run any ADB command on your device!
Linux Setup
Download the ADB ZIP file for Linux from HERE
Extract the ZIP to an easily-accessible location (like the Desktop for example).
Open a Terminal window.
Enter the following command:
cd /path/to/extractedfolder/This will change the directory to where you extracted the ADB files.
So for example:
cd /Users/Doug/Desktop/platform-tools/Connect your device to your Linux machine with your USB cable. Change the connection mode to “file transfer (MTP)” mode. This is not always necessary for every device, but it’s recommended so you don’t run into any issues.
Once the Terminal is in the same folder your ADB tools are in, you can execute the following command to launch the ADB daemon:
adb devicesBack on your smartphone or tablet device, you’ll see a prompt asking you to allow USB debugging. Go ahead and grant it.
Finally, re-enter the command from
adb devices. If everything was successful, you should now see your device’s serial number in the Terminal window output. Congrats! You can now run any ADB command on your device!
All articles in this blog except for special statements,Both adopt CC BY-SA 4.0 protocol, Please indicate the source!